
Click the links to follow the instructions.
Part 1
Part 2
Part 3
Part 4
Part 5
Part 6
Next we make a neck now.
You for sure can spare yourself the neck, and make the middle part an egg.
I started with balls, so i needed a neck … i thought :D
Take a sheet of wool, and needle a small part in the middle of it together.


Then pull the ends apart like this

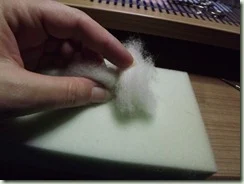
Do this on both sides
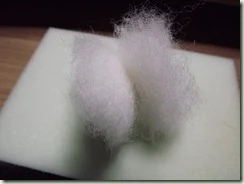
Then have a look where you want to attach it

Hold it to the head, and needle the fluff on

go in to the head right in the middle and tag the fibbers together, then around the tight felted part, and needle it good and secure onto the head. then work all the loose fluff onto the head.


Place the other side of the neck onto the body, and decide now where you want it to be

And again, needle it on - right into the head, through to the body,
then around the felted bit right into the body, hard and deep strokes, to secure it all together.
Then needle all the fluff onto the body.


Sure thing the neck was far to skinny, so i had to build it up a bit.
Means - fluff wrapped around the neck, tagging it onto the head, tagging it onto the body, and then needling all around the neck, tight and secure.
That looks better, doesn’t it?


Next we fill the dent in on the back between the lower balls, and make the curving of the back
Fill the gap with little bits of wool, needle them in and add more.


next i made the curve on the top of the back, on the middle ball.


I also built up a bit more chest rounding because she was really flat chested :D

Next step are the tights.
Take a sheet, draw a rough circle on it, fold the fluff into the middle - but leave 1 side fluffy


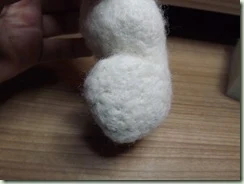
Needle away on it, to compress it a bit, and make it a bit smaller


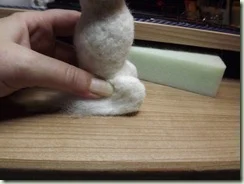
When they are the size you like, needle them onto the ball.
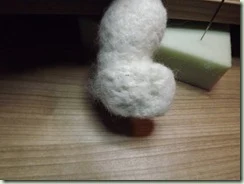

Again, every seam needs to be secured with little wool sheets
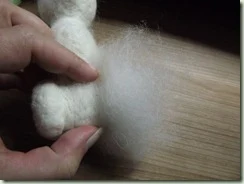


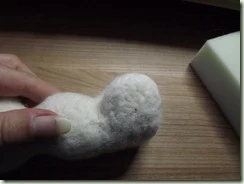

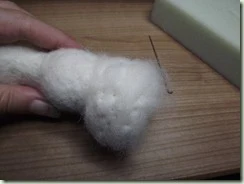
I thought it looks to much like wheels, so i added a bit more onto the knees
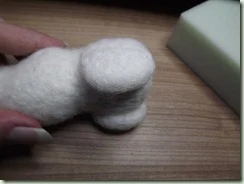



This was part 3 click where you want to go
Part 1
Part 2
Part 3
Part 4
Part 5
Part 6


