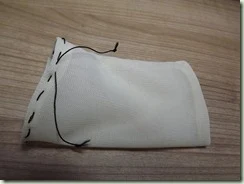
Today i worked mainly on the paws, the toes.
There are for sure many many ways how to do it … This is how i do it.
I just tried to get hold of the long fluffy hair at first with taping them away from the toes.
Then I put pins where i want to enter and exit with the thread.


I come here from the shoulder, exit at one corner of the toes.
Then i enter the needle at the first pin on the paw side, and exit on the hairy side.


Here i show you the angle i exit.
I have seen this from Joanne Livingston, and it make a lot of sense, because bears got rather long toes.
Lay the thread from the outside right back to the inside of the paw, to where you entered at first.
Pull hard, but not so hard you rip the thread (unless you got one which can’t break - mine is not that unbreakable sadly)
Insert the needle at the same spot again … and …


Remove the pin and this time you go UP to the toe tip … click on the picture to see it in large.
You exit right next to the thread.
Keep the thread pulled tight, and enter again just on the other side of the thread.
Exit where you entered earlier.
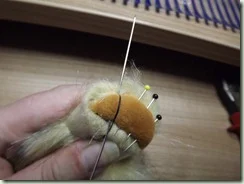

This will keep the thread in place.
Now you enter the needle at the second pin… repeat all the steps as shown for the first one.
I will make a tutorial for a complete feet soon (tomorrow if i finish the teddy tomorrow)
This is how it looks at the end.
This foot is far from perfect… for perfect pulled toes have a look here http://desertmountainbear.blogspot.com/search/label/pulled%20toes
Joanne makes the toes so pretty, so even … i can just dream about this.
My excuse is .. nature is not even :D


Here on this picture i show you one of the disadvantages from taping the hair … they are getting caught under the thread. So you need to carefully pull them out and then give it all a good brush again.


Here the back foot.
Enter again at the top, exit at the middle of the paw, enter needle at the same spot again and


…. exit at the corner of the toes.
And here i can you can see, why i actually prefer to fight with the hair.
I can just part them from the pin to the thread, and lay the tread right inside this line.

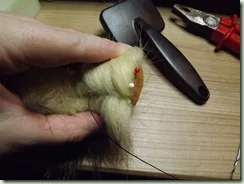
After you finished the toes, go from the corner to the middle.
Close but not to close to the stich you enter again and go right upside of the foot.
Part the hair again, so they don’t get caught in the thread,


Press the foot together and pull tight.
Stitch a few times up and down and then go up to the opening and tie off the thread.


There we are with brushed nice toes :)
All 4 limbs took me a little bit more then 3 hours.


Next i put some wool into the face, just to see what i want to do….
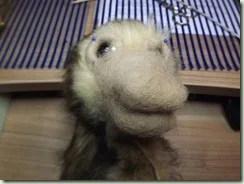
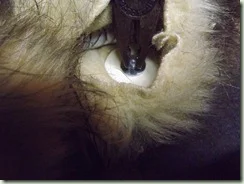
Because i liked the place of the eyes, i took out the placeholder … can you see the little hole in the first picture ? there is was …
Then i entered the actual eyes. I took rather big one this time, 16mm.


I pulled them really hard in and did with an other thread some sculpting of the bridge of the nose.
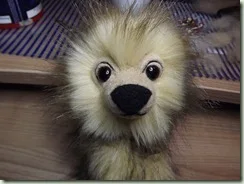
Now doesn't he look angry ? But i wanted a friendly bear


So i cut off some more hair between the eyes
Wrapped some of my Tee dyed wool around the nose and needled it in place.


I didn’t document the process, because i never know what is going to happen …
But i like the result :D This took me an other 3 hours
While i was watching TV i spent an hour to close the seems of the limbs.
Can you see the seam ? no ? good that is how it should be.

Then i attached the limbs.
First widening the spot where i want to enter.
Put the discs on the bolt - place the bolt
AND just screw it tight :D no holding on the other side, because - you remember ? It is clued :D


Then i filled the tummy temporarily with wool, made a rough closing and took a picture.
Tomorrow i will see, if i have to loosen the screws or keep them thigh.
When i found the right tension, so the limbs are turn able but not loose, i will secure the screws with clue again.